this project requires you to make a paper stencil and a series of prints
when you hand in your prints please make sure they are labelled correctly
when you hand in your prints please make sure they are labelled correctly

First start by researching and making a list of your characteristics and qualities.
Are you loud or quiet? Take an on-line survey if you like. |
Next choose an animal that represents one of your characteristics.
Choose another animal for a different quality. One animal must be from North America. Now you have 2 animals for your rough sketches. |
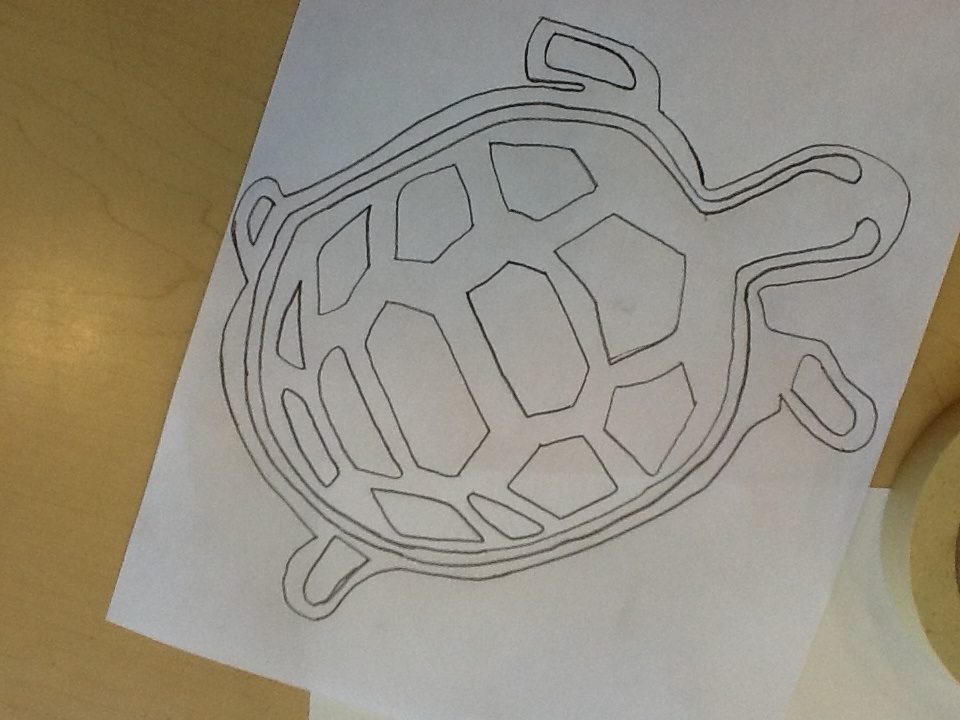
Now sketch the animals. Think basic and not photographic. Do NOT copy a stencil.
Show your sketches to the teacher and get some feedback. Make some revisions. |
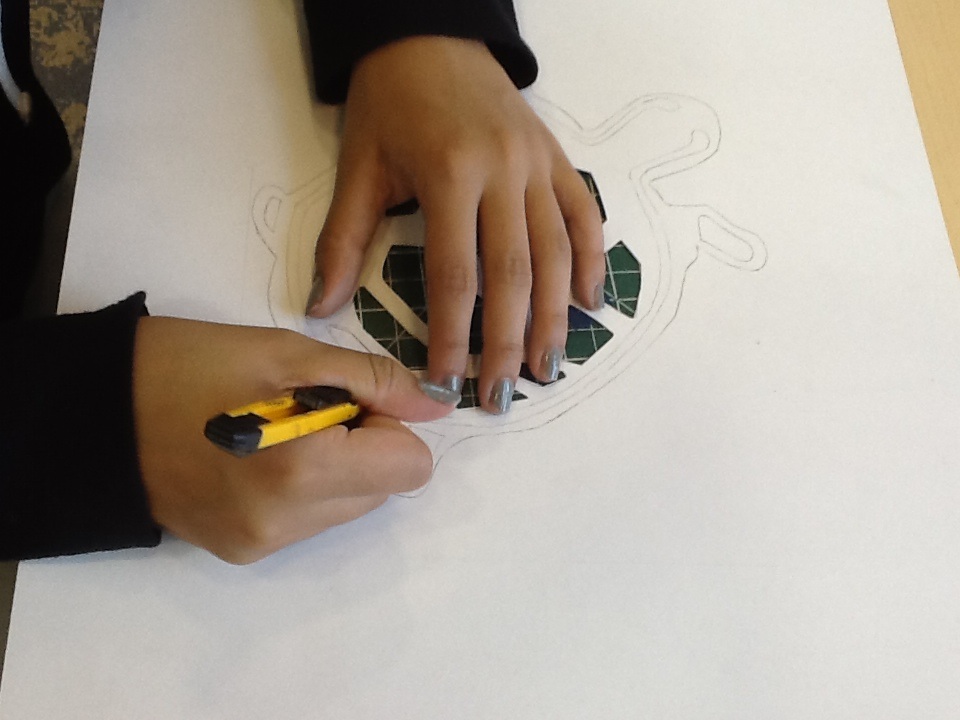
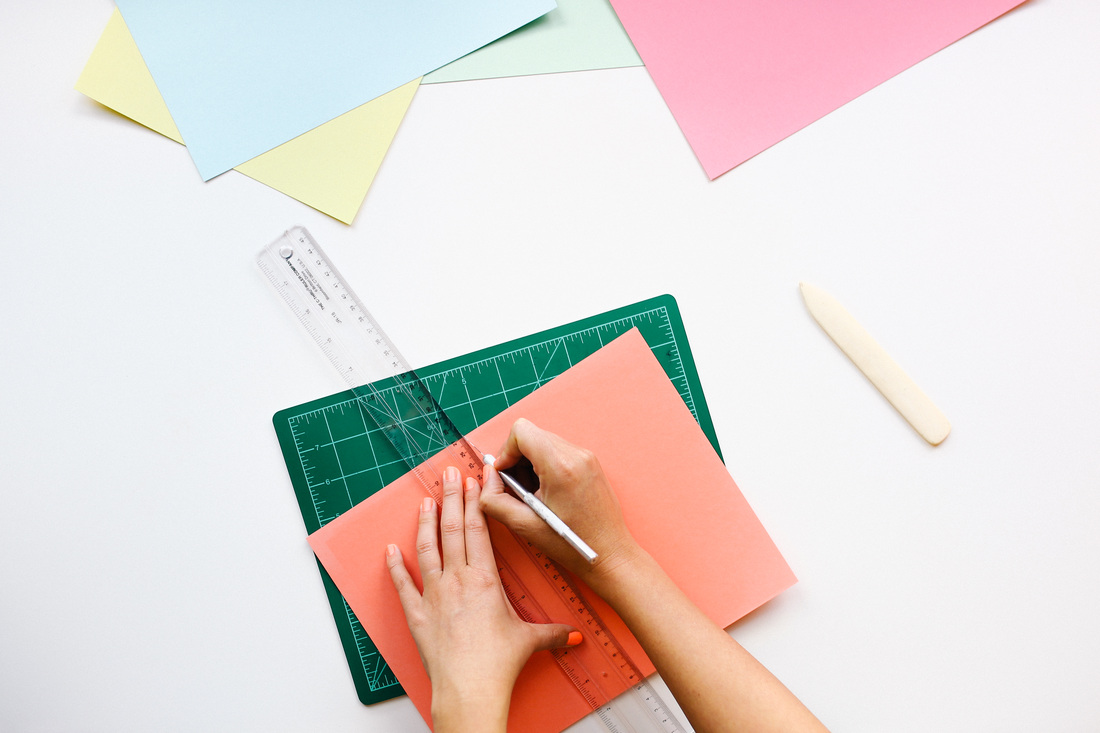
the next step involves transferring your design and cutting it out.
then the printing fun begins. |
printing |
Use your stencil to make some prints.
|
|
We will use tempera paints. Try both techniqes: stamping and dry-brushing.
|
These are test prints. Keep them and they will be labeled as 'artist proofs' or with an AP when you hand them in
|
One print: analogous colours
One print: tints One print: monochromatic One print: your choice |
choose your favourite |
And make an edition of 3
(that means they will look alike) |
Be sure to properly label your edition. Use pencil and write AP if it is an Artist Proof (mistake) and write a fraction if it is part of the edition. If you have 3 that are really alike you will label each one differently: 1/3, 2/3, or 3/3. Put the AP or fraction on the left just under the printed stencil. Sign your name in cursive writing on the right side, just under the stencil. If you want to give your print a title put it in quotations in the centre. Always use pencil.
